
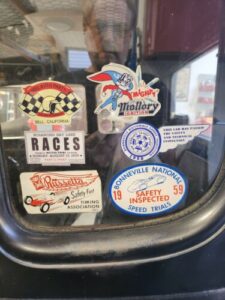
HOW TO APPLY YOUR WATER DECALS:
This page will go over how to apply your inside mount decals. Note that when you get the decal the image will not be visible. This is not because it is between 2 sheets of paper (So don’t try and peel them apart) it is because it is one sheet of paper and the back side of the decal film. For people like me growing up in the 80’s we still were exposed to water slide decals via our models and RC cars. But even many of those have changed over to peel and stick. So don’t feel bad if this is your first time dealing with this type. Let’s get started…
Getting Ready To Apply:
Cut out your image using a standard pair of sharp household scissors. These decals because they are not always super visible. The best option is to hold the decal with a light behind them so you can see the silhouette though the decal. All our water decals are white backed decals, so please remember that your success in having a beautiful item is dependent on how well you trim the decal; any white you leave around the image is going to show, when applied.
Ready To Apply:
- First of all make certain that the glass is clean and void of all wax and oil.
- After cutting your decal but before placing it into water, lay the decal on the object and position it until you have a general idea where you will be applying it. This way you will know where to place it as you don’t have much time once the decal is wet to position it.
- Place decal into a cup of clean warm water. The decal will curl up and then start to relax after 20-30 seconds
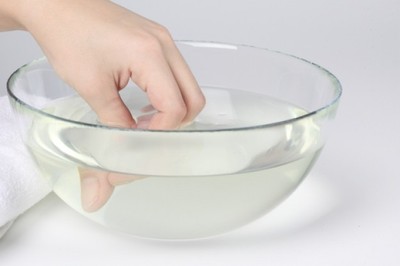
- Hold the decal in the water until the thin decal film begins to slip along backing when pressed between the thumb and other fingers. This is when your decal is ready to apply. DO NOT FORCE IT. You may have to check it a few times until it starts to move on the paper backing.
- Wet the glass. This will give you a bit more time to actually move the decal around until it is where you want it.
- Place the decal against the glass with the instruction side down. Slide it onto the surface as you draw the paper backing out from behind it. (Discard backing material after the decal has been removed). Using a wet finger, press all air bubbles and water out from under the decal and then lightly dab it with a towel to remove any extra water.
- Let dry at least 24-30 Min. If the decal start to come off there may have been something on the glass like finger oil or dirt that resulted it not adhering. This is rare but can happen. The decal can not be fixed at this point. Please contact us for more information.
- NOTE: Do not attempt to apply a decal to a surface that has been sitting in the sun and is too warm, room temperature is fine. You will need all the time you can get to make sure the decal is level and positioned the way you want it.
Good luck, and please remember that if you have any questions please contact us before applying. Sales@coupecustoms.com